Production Planning
Part of Lighting and camera setup for office shoots: shot checks
Choosing a camera angle for a software demonstration
For a software demonstration, the viewer needs to understand the screen and the person explaining it.
In a software demonstration, viewers must understand both the screen and the presenter. Decide which is the primary subject for each moment. When a workflow depends on small interface labels, direct screen capture may work better than filming a monitor over someone’s shoulder.
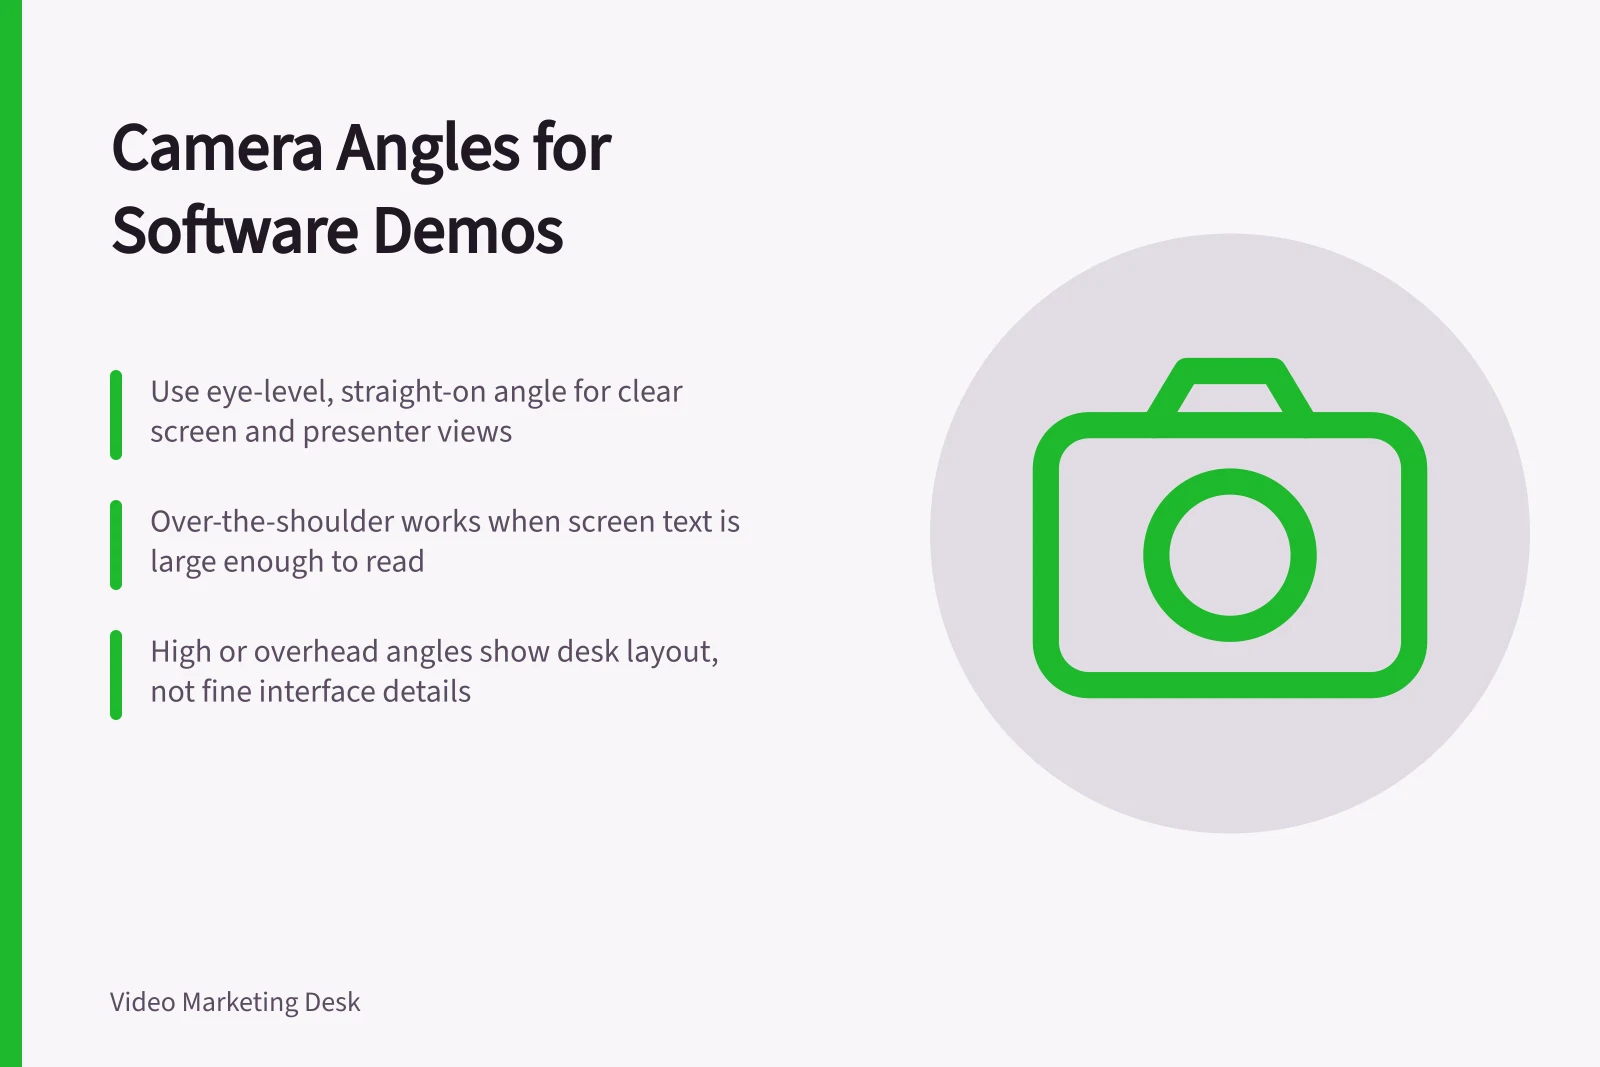
Use a straight-on, eye-level angle as the default when viewers need to understand the presenter or see the screen clearly. Eye-level gives a neutral perspective, while straight-on makes the subject easy to understand. When filming a person at a desk, place the camera near their eye level and avoid angles where their hands cover the screen.
An over-the-shoulder angle includes the person and monitor, giving the demonstration human context. Choose it when the screen content is large enough to read; for small interface labels, use direct screen capture instead and add a separate face shot for the introduction or explanation.
A high angle places the camera above the subject and points it down; use it to show the layout of a desk or device, not to emphasise fine interface details. An overhead angle is an extreme top-down view, suited to showing how physical items are arranged. A low angle looks up at the subject from below their eyeline, so use it briefly to emphasise a presenter’s confidence or authority rather than to show screen detail.
A 45-degree angle shows more of a subject’s front and sides or top than a straight-on view. Use it when the device or workstation itself needs context, then switch to a straight-on angle or direct capture for interface labels. A Dutch angle, rolled to one side, conveys chaos or tension; reserve it for a deliberate stylistic effect rather than routine instruction.
Choose shot size as well as angle: a close-up can focus attention on a control or result, while a wide shot can establish the presenter and workstation. Keep enough of the interface in frame for the text to remain readable, and check a short export on a phone, where many viewers will see it.
Frame actions in sequence: state the task, show the relevant control, perform the action and show the result. The useful angle is the one that makes the next action obvious; a dramatic perspective that hides the button or result is a poor trade.
Keep visible screens free of customer data and notifications. Before relying on filmed monitor footage, test for flicker, reflections and moiré; if those problems persist, record the interface directly.
Keep light and white balance consistent across face and product shots so cuts are not visually jarring.
Recommended Camera Angles for Software Demonstrations
- Eye-level, straight-onDefault angle; neutral perspective, clear view of presenter and screen
- Over-the-shoulderShows both presenter and monitor; use when screen text is large enough to read
- High angle (overhead)Shows desk or device layout; not suitable for fine interface details
- Low angleEmphasises authority or confidence; avoid for showing screen detail
- 45-degree angleAdds context to workstation; switch to straight-on for interface labels
- Dutch angleConveys chaos or tension; use only for stylistic effect, not instruction
Best Practice Workflow for Recording a Software Demo
- State the taskClearly explain what will be done next
- Show the relevant controlUse close-up or eye-level shot to highlight the button or menu item
- Perform the actionDemonstrate the step clearly; ensure the camera captures the movement
- Show the resultDisplay the outcome on screen; keep frame consistent for readability