Production Planning
Lighting and camera setup for office shoots: shot checks
An office can be a workable filming location if the speaker and product remain clear from shot to shot.
undefined
A reliable office shoot starts with a camera frame that stays consistent and lighting that keeps the speaker or product clear. Set the camera on a tripod, choose the framing, shape the room light, then record a test before filming the full sequence.
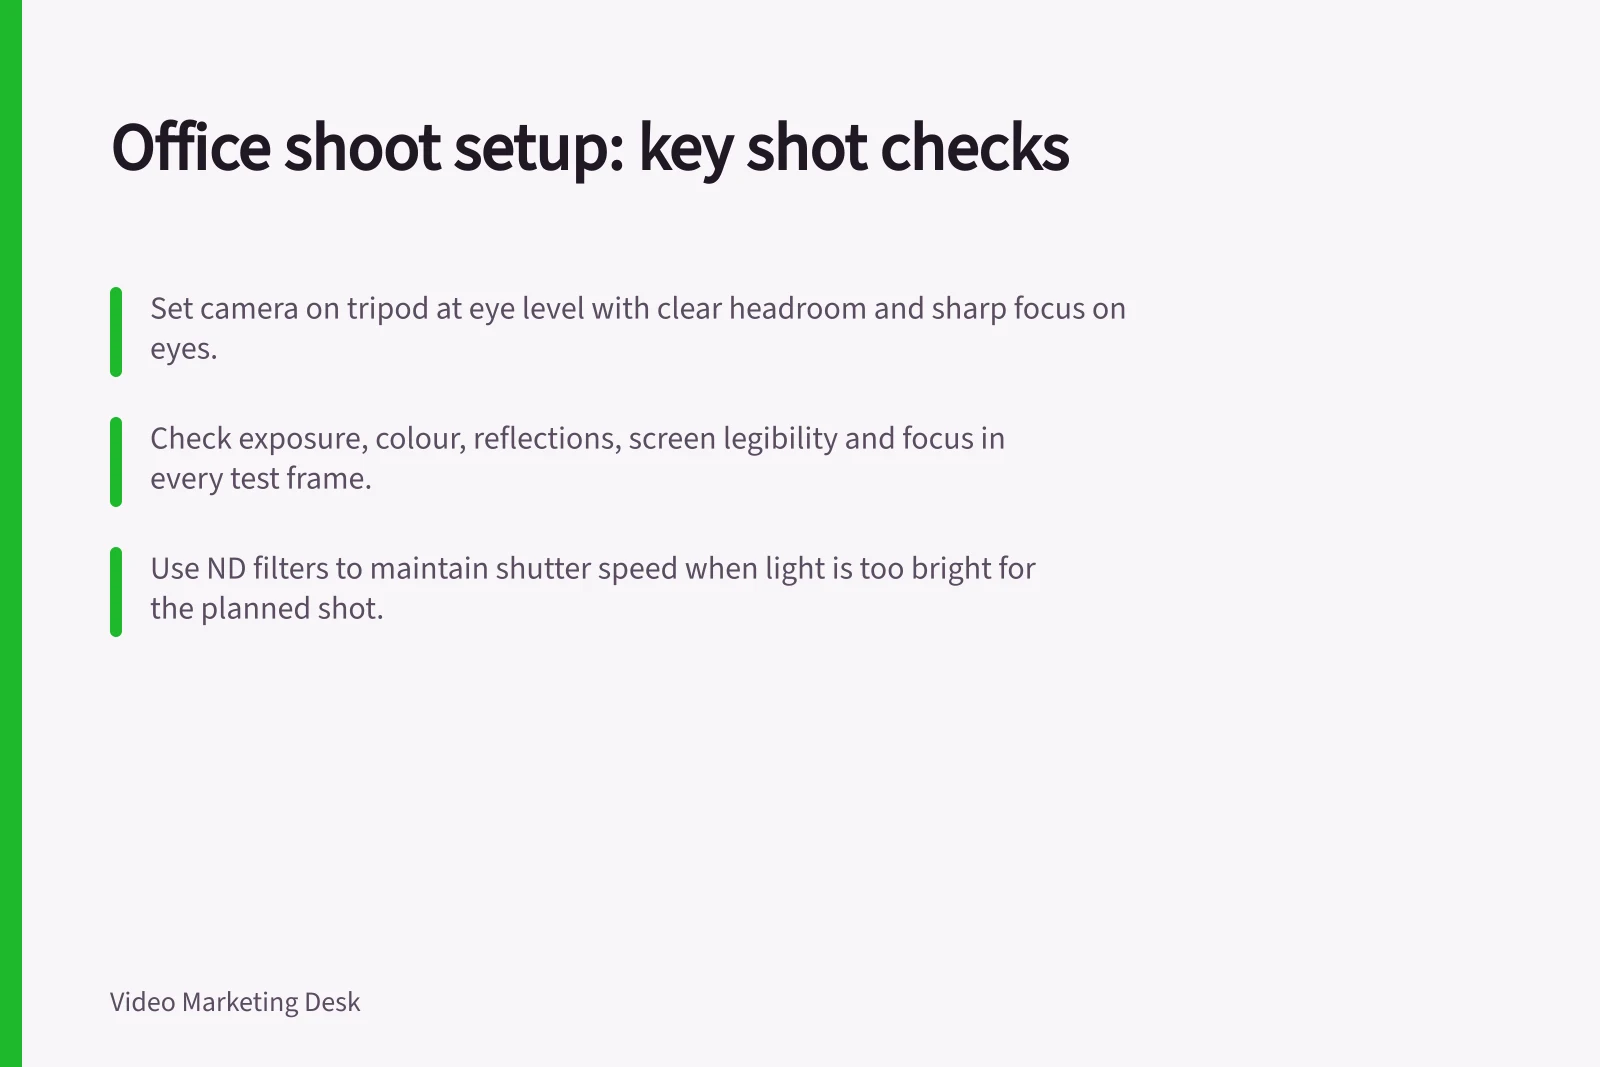
Five checks belong on every test frame: focus, on the speaker's eyes or the product's key detail; colour, so skin and product tones look right; reflections, so a glossy desk, screen or window does not bounce back at the lens; screen legibility, so interface text reads; and exposure, so the brightest and darkest areas both hold detail. Re-check all five whenever the light, framing or subject changes.
For an interview, place the speaker where the main light falls on their face and clear confidential material from the background. Review the test from the camera position, checking both the brightest and darkest areas as well as the subject’s expression and eye focus.
If a bright window leaves the speaker in silhouette, change the speaker or camera position, or reduce the window light before filming. Keep the light sources consistent where possible, then check a new test frame whenever the daylight or room lighting changes.
Camera setup for office shoots: match the framing
For an interview, lock the camera on a tripod at eye level, leave comfortable headroom and check that the speaker’s eyes are sharp. Choose a lens that gives the speaker room in the frame without placing the camera uncomfortably close; for software explanations, make the interface large enough to read.
The camera's exposure rests on three controls: aperture, shutter speed and ISO, which together decide how much light is recorded. Set them deliberately rather than leaving the camera to choose, so the frame stays consistent from take to take.
For a physical product, frame the key details and check the result from the camera position. Glossy packaging can reflect the room or crew, so inspect the test image and reposition the product or light until its important details read clearly.
Record a short sample and watch it on a device like the one the audience is likely to use. Check focus, exposure, colour, reflections and legibility, then note the camera height, framing and light positions so a later pickup can match.
A tripod keeps a locked-off interview frame steady. Raz Studios lists the O'CONNOR 2575b Tripod in its Perth hire range, and asks for your gear list, dates and shooting location so it can check availability and send a quote (Raz Studios).
Lighting setup for office shoots: control the room
Treat the office as a small set: identify the light sources affecting the frame and decide which you can control. Check the ceiling lights, windows and screens before placing the subject, then aim for a consistent mix so the camera records natural-looking colours.
Office light also bounces off what is already in the room, so check screens, polished floors and glass-covered pictures before placing the subject. WorkSafe Victoria advises positioning computer screens side-on to the main light source to control reflections, and notes that light from windows or artificial lighting can make a screen hard to read (WorkSafe Victoria).
For a speaker, place a soft key light to the side and slightly above the camera, angled towards the face. If the shadows are too deep, add a softer fill light on the other side or bounce the key light back with a pale board or reflector. Check the face on the camera display and adjust the light until it is clear without looking flat.
For a small light close to the camera, Rosco names the Rosco DMG DASH Light with its DOT Round Diffuser accessory (Rosco).
Fluorescent light can look cold and almost bluish (Adobe), while room lights can also introduce flicker or glare. WorkSafe Victoria notes that older fluorescent tubes may flicker when malfunctioning, and that lighting should be free from flicker, stroboscopic effects and glare (WorkSafe Victoria).
For a simple interview rig, set the tripod at eye level and place the speaker with space behind them. Put one soft key light to the side and above the camera, then use a white reflector opposite it if the shadow side needs lift. Record a test and adjust the framing or light before the full take.
If daylight through a window washes out detail, change the framing or control the window light before recording. Rosco describes gel filters as a way to dim windows so they are not over-exposed in the shot (Rosco).
Set white balance to suit the light falling on the scene rather than treating a preset as universal. Check a test frame with a white or grey reference in view, then adjust the camera until whites and product colours look right.
Daylight through an office window can change during a shoot. If the colour or brightness shifts, check the frame again and adjust the camera or lighting before recording matching shots.
Artificial lights vary too: Adobe notes that bulbs and other artificial lighting are usually warmer than outdoor light (Adobe). Choose a consistent mix where possible and check the camera’s rendering whenever you change a light source.
Set white balance for the office light
White balance sets how the camera renders white and affects the other colours in the shot. Identify the light on the subject, set the camera’s white balance to suit it, then review a test image; Adobe gives 3,200 K as the standard setting for indoor tungsten light (Adobe).
When window daylight and room lights mix in one frame, the camera can balance for only one of them. Set white balance for the light falling on the subject, then check what the other source does to the rest of the frame.
Treat a camera setting as a starting point and check the actual room light. Recheck the balance if the daylight or artificial lighting changes between takes.
Correct a stubborn office cast at the light or on the camera. Do this before the take.
Check exposure across the office scene
A camera may not retain detail in both the brightest and darkest parts of a high-contrast scene. If a bright window and a shadowed face appear together, decide which detail matters most, then adjust the lighting or camera position to bring the scene into a more manageable balance.
Test the camera under the lighting you plan to use. Record a short clip and review the brightest and darkest areas on the camera display; if either loses important detail, change the light or framing and make another test before committing to a longer take.
A luminance histogram can help you inspect the same test. It displays image tones by brightness; tones crowded against an edge can flag clipped highlights or shadows, so compare the graph with the image rather than relying on the graph alone.
If the image loses detail, adjust the lighting or exposure and test again. Check the result on the camera display, and repeat the test after moving the subject, changing a light or altering the framing.
When to use a neutral-density filter
A neutral-density filter reduces the light entering through the lens. Michaels Camera Hire describes ND filters as useful for maintaining optimal shutter speeds when shooting video (michaels Camera Hire).
A shutter speed is a decision, not a brightness control: it sets how motion looks on screen, so choose the setting that suits the shot and hold it for the take. Fit the filter in front of the lens when the image is too bright at that shutter speed, record a test and review exposure and detail on the camera display before continuing.
In this guide
- Positioning a speaker near a window without backlightingA window can provide soft light for a speaker, but placing it directly behind them may leave the face too dark.
- Keeping product colours consistent across shotsColour shifts make the same product look like several versions.
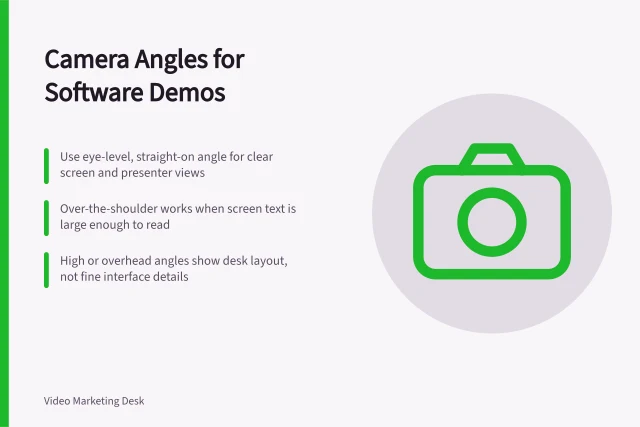
- Choosing a camera angle for a software demonstrationFor a software demonstration, the viewer needs to understand the screen and the person explaining it.
- Filming reflective products without distracting glareA glossy package or metal product reflects the room, light source and camera.