Sound and Lighting
Sound recording for business videos
Record speech so the audience can understand it without raising the volume or guessing through room noise.
A clear recording starts before the first take: microphone placement, room conditions and a monitored test. Choose the microphone for the shot, keep it close to the speaker, control the room and listen before the full take. Editing can balance levels, but it cannot reliably recover words buried in echo or clipping.
Start with the voice and the location
List the speaking situations in the video: a seated interview, a presenter walking, an office voiceover and any group conversation. Note the room's hard surfaces, fans, traffic and other noise. A microphone close to the mouth usually captures more direct voice relative to the room.
Listen to the location before setting up. Pause ventilation if it can safely be paused, silence notifications and move away from noisy appliances. A short test recording through headphones reveals more than a quiet-sounding room suggests. Soft furnishings or temporary absorptive material can reduce reflections in a bare room.
Match microphone to shot
For interviews, choose a lapel or boom microphone to suit the shot and movement; see our guide to choosing between them. For a fixed office voiceover, an appropriately placed desk or stand microphone can be simpler.
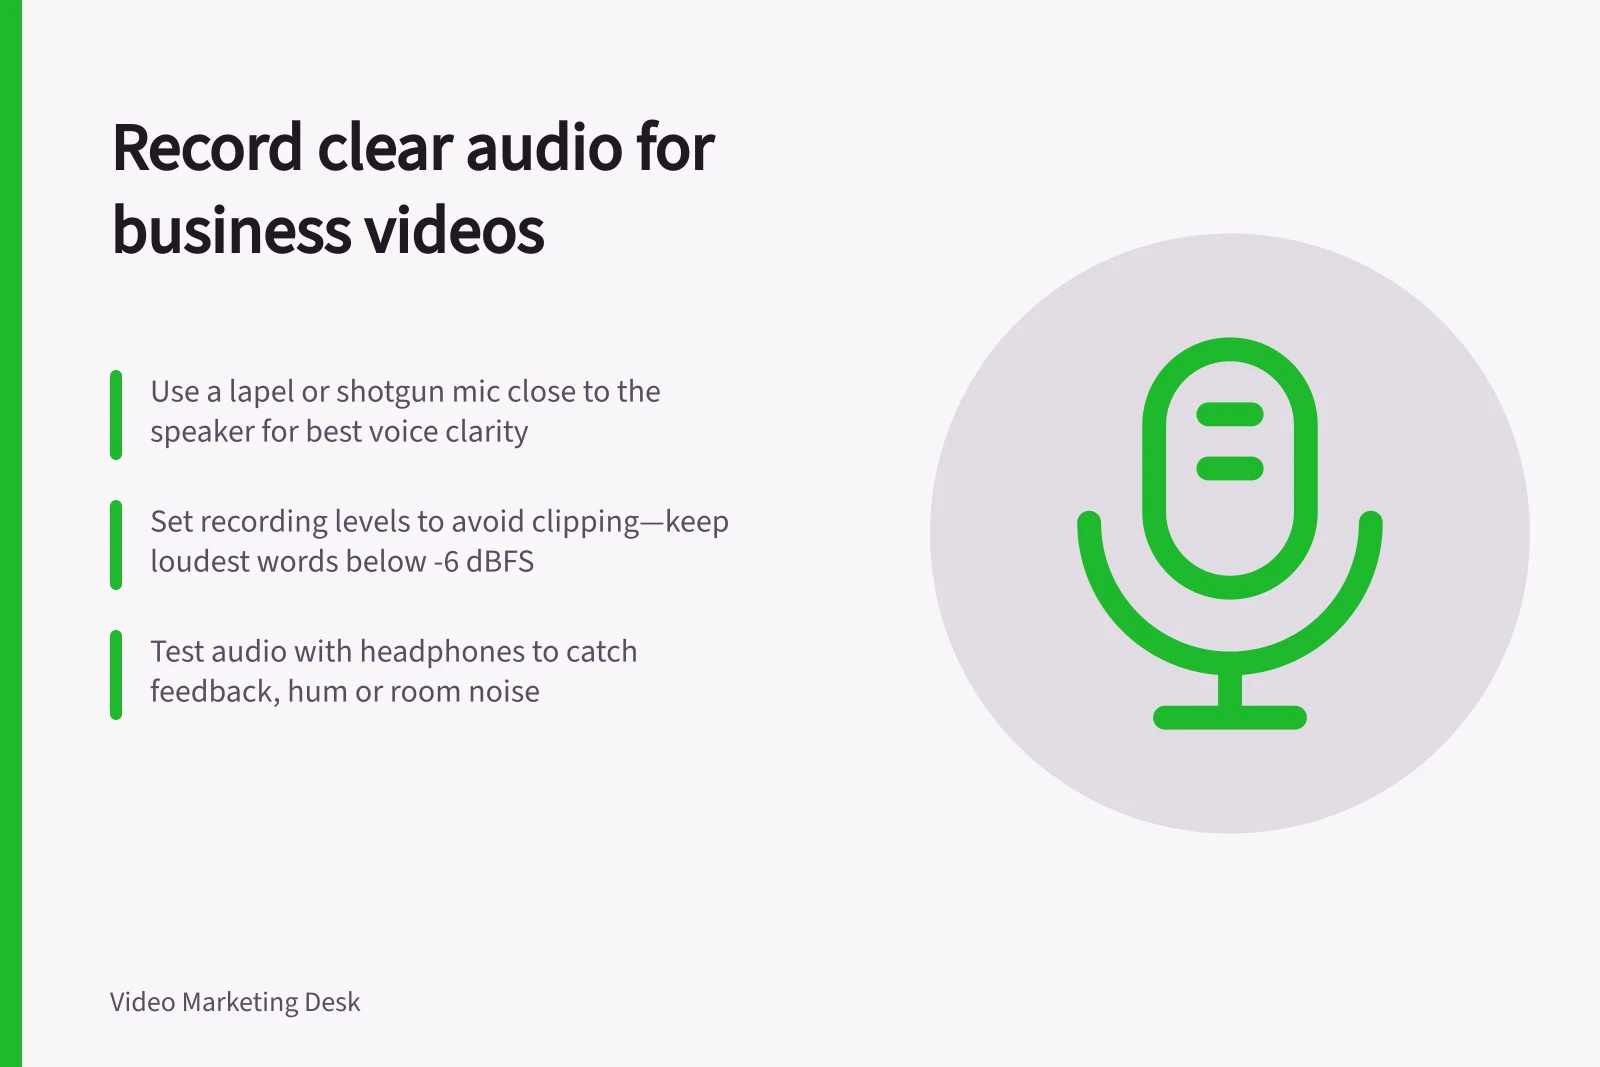
RØDE's interview guidance gives the placements. A shotgun microphone such as the RØDE NTG2 or NTG4+ goes several inches in front of and above a seated subject, just out of frame, pointed down at the mouth; a walking subject needs a boom pole. A lavalier such as the RØDE Lavalier clips to the shirt or jacket collar, giving very close proximity to the mouth.
For voiceover, Shure advises speaking 3 to 6 inches from a dynamic microphone, such as the Shure MV7+ or SM7B, in a quiet, soft-furnished space to minimise room noise.
Keep distance and angle consistent, use a pop filter if plosive consonants are a problem, and record away from reflective walls where possible. Do not buy equipment before trying a better room and placement with the microphone already available.
Situation / First practical check
- Seated interview
- Can the mic stay close and out of frame?
- Walking presenter
- Will the mic maintain distance without clothing or handling noise?
- Small office voiceover
- Can the room and speaking position remain consistent?
- Several speakers
- Is each voice captured at a comparable level?
Microphone selection by speaking situation
- Seated interviewShotgun mic (e.g. RØDE NTG2/NTG4+) or lavalier (e.g. RØDE Lavalier)
- Small office voiceoverDynamic mic (e.g. Shure MV7+, SM7B), 3–6 inches from mouth in quiet, soft-furnished space
- Group conversationMultiple lavaliers or strategically placed shotguns; ensure consistent levels per speaker
Check the recording chain
Before filming, confirm that the camera or audio recorder can accept the microphone's output and provide any power it requires. Some shotgun microphones need 48-volt phantom power; other models can use AA batteries or an internal battery. Check the power options for the microphone in use, then test the chosen power source before the shoot.
Run a brief test before filming, as Shure suggests with a 30-second test through closed-back headphones. A usable signal has speech clearly above the room noise, no clipping on the loudest words and no hum, buzz or cable crackle on playback of the recorded file.
Pre-recording setup checks
- Test signal through headphonesUse closed-back headphones for accurate monitoring
- Check for background noiseListen for hum, buzz, cable crackle, or room noise during test
Protect the recording
Set levels with the loudest expected speaking, not only a quiet rehearsal. Recorder meters read in dBFS, so keep the loudest words clear of the top of the meter. Field recorders add an input limiter: on the Sound Devices 788T, sounds louder than its threshold are attenuated, and the threshold is adjustable from -12 to -2 dBFS.
Listen for distortion, cable noise and sudden changes when the speaker turns away. Record a little room tone after the take for editing continuity. If a key line is unclear, repeat it while the setup is still in place.
Keep a backup where the production warrants it, such as a separate camera reference track or second recorder. Synchronise recordings carefully and name files by scene and take so the editor knows which voice track belongs to which image. The backup should be checked during filming, not discovered as unusable later.
Account for room loudspeakers
If a presentation or meeting room's loudspeakers are operating during recording, their sound can return to a microphone and be amplified again. This feedback loop can produce a distracting squeal, hum or howl, so check for ringing during the test rather than waiting for the full take.
The amount of gain available before feedback depends on factors including room acoustics, microphone direction and position, and loudspeaker placement. Keep the microphone close to its speaker where practical, and consider whether the loudspeakers can be positioned closer to the audience so less amplification is needed. If feedback begins, reduce the gain or change the microphone and loudspeaker positions before recording continues.
Finish for consistent listening
In editing, remove handling noise where possible, smooth abrupt level differences and compare dialogue across cuts. Use processing gently: raising a quiet clip can also raise its background noise, and heavy compression can make breaths and room sound conspicuous.
For a delivery loudness reference, EBU R 128 normalises programme loudness to a target level of −23 LUFS, measured to ITU-R BS.1770, and treats an advertisement or promo as a programme. Check whether the platform or broadcaster receiving the video sets its own target.
Check the final video on headphones and a phone speaker at a normal listening level. Record the problems heard in the test and fix the source whenever possible before relying on repair effects.
In this guide
- Choosing between a lapel microphone and a boom microphoneChoose a lapel microphone when the speaker needs to move and you can attach the mic cleanly.
- Reducing room echo before recording an interviewReduce room echo by moving the interview to a quieter, less reflective space and bringing the microphone closer to the speaker.
- Recording a clean voiceover in a small officeA clean office voiceover starts with a quiet room, a consistent speaking position and a short test.
- Fixing uneven dialogue levels during editingFix uneven dialogue by identifying why the level changes, adjusting clips or phrases, then measuring the finished mix.