
Sound and Lighting
Part of Sound recording for business videos
Recording a clean voiceover in a small office
A clean office voiceover starts with a quiet room, a consistent speaking position and a short test.
A clean office voiceover begins with a quiet room, a consistent speaking position and a short test. Record the script in manageable sections, monitor through headphones and fix noise at its source. No expensive microphone can compensate for an air conditioner, hard-wall echo or changing distance from the mic.
Prepare the room
Choose the quietest period and space available. Close doors, silence alerts and listen for fans, traffic and computer noise.
A soft-furnished room may reflect less than an empty office; Shure recommends quiet, soft-furnished spaces for close voice recording. Try two positions and compare recordings rather than assuming the smaller room will be better.
Place the script where the reader can see it without turning away from the microphone. If they look down for every sentence, the recorded tone may change. Mark breaths, product names and pauses in the script so retakes match the original pace.
Soft-furnished vs. hard-surfaced rooms for voiceover recording
- Room type
- Soft-furnished
- Echo and reflection
- Lower (reduces room tone)
- Best for close voice recording
- Yes
- Room type
- Hard-surfaced (e.g., empty office)
- Echo and reflection
- Higher (increases reverb)
- Best for close voice recording
- No
Set the microphone and level
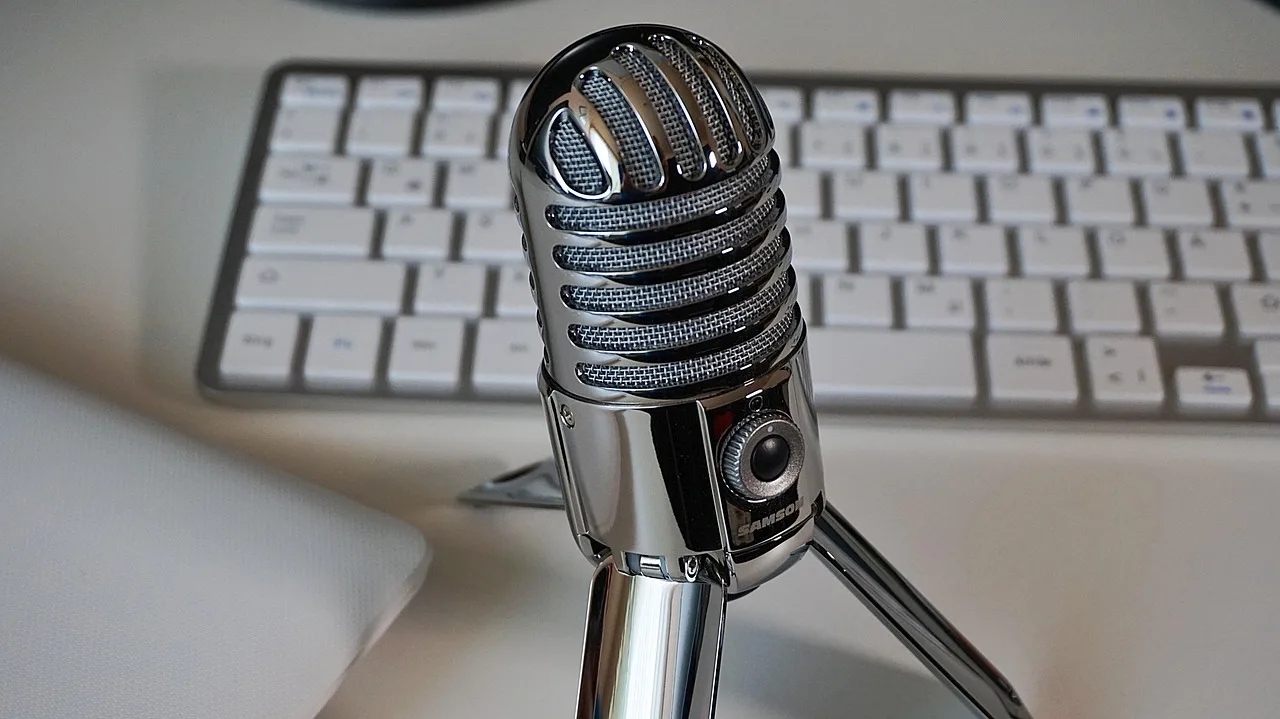
Keep the mic at a repeatable distance and slightly off the direct path of strong breath bursts. With a dynamic mic, start 3–6 inches away; this close technique helps minimise room noise and capture a warm, clear voice. The right distance still depends on the specific microphone, so compare a short test rather than treating that range as universal.
A pop filter can help control plosive bursts; keep its position consistent between takes. A shock mount or stable stand can help if handling noise is audible, but neither replaces a quiet room.
Record at 24-bit with generous headroom. Read the loudest line at the intended energy and adjust the input gain so peaks stay comfortably below 0 dBFS; clipped peaks cannot be restored. Use closed-back headphones for a 30-second test, then listen to the recording, not only the meter.
Check for mouth noise, desk vibration, cable movement and a hollow room sound. A shock mount or stable stand can help if handling noise is audible; it is not a substitute for a quiet room.
Key recording settings for optimal voiceover quality
- Recommended mic distance
- 3–6 inches
- Headphone type
- Closed-back
Pros and cons of using a shock mount or stable stand
- Reduces handling noise
- Pro
- Improves stability during recording
- Pro
- Does not eliminate room noise
- Con
- Cannot replace a quiet recording environment
- Con
Keep takes consistent
Record a few sentences per take while preserving enough context to edit naturally. When correcting a line, start slightly before the mistake and continue after it. Leave a short pause between takes. Note the best take rather than repeatedly recording the whole script without a selection process.
If a long session spans a break, restore the chair, mic, gain and room settings before the next take. Record a short sample and compare it with the earlier material.
The editor can make modest level adjustments, but a completely different room tone or speaking distance is harder to hide.
Finish by listening to the assembled voiceover on headphones and an ordinary phone speaker. A clean recording should carry the meaning without large volume jumps or a layer of repair effects.


